How to Take a Professional Headshot at Home for ODs
Even if you're not searching for a new position, having an updated and high-quality headshot can come in use for all eyecare professionals. Not only do media outlets request a professional headshot to accompany interviews or published work, but it's helpful for patients to see photos of you and your staff on your practice's website. Putting a face to a name is crucial for practices with multiple optometrists and avoids and awkwardness when patients do arrive at your practice.
However, hiring a professional photographer to take your photo might not be possible or may be out of your budget. That's why we want to help you work with what you already have to create a great headshot just at home. Keep reading for a step-by-step guide on achieving the perfect optometry headshot.
The Importance of a High-Quality Headshot for Optometrists
Outfit
Before you start taking photos, make sure you're looking your absolute best. You can wear a white coat or neutral-colored business clothing that covers your shoulders. While wearing patterned or bright clothing can be a good way to show your personality, just make sure it's wrinkle-free and not trendy. You'll want this to be a headshot you can use for at least 10 years.


Gather Tools
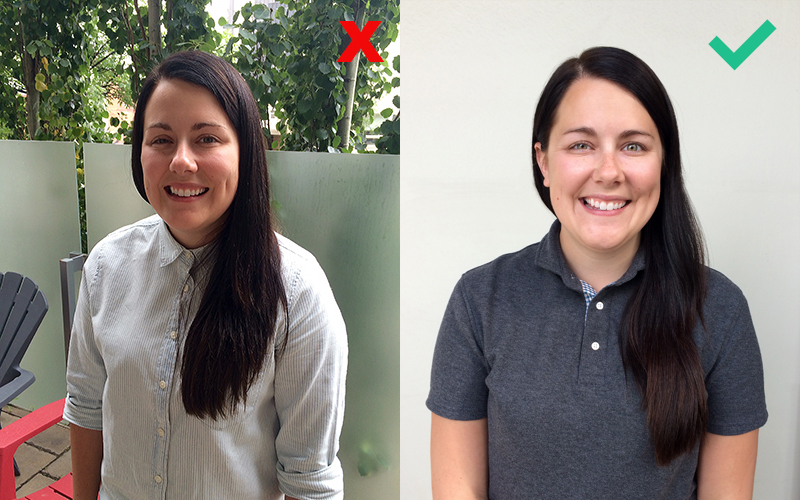
If you're taking the photo yourself, you'll need a smartphone that allows you to put on a self-timer OR a DSLR camera, a tripod or a shelf you can prop the phone up against, and a comb for last minute touch-ups. If you're getting a friend or family member to take the photo, you won't need a tripod, but tell them to countdown before they click. If you don't have a phone that has a "portrait mode" setting (iPhone 8 and up), maybe borrow one that does. Below is an example of a photo taken in portrait mode.

Location
The main priority is having a lot of natural light or a brightly lit room. Indoor photos are great because you don't have to worry about wind ruffling your hair, bugs, or harsh shadows through trees and buildings. However, the light is usually best outside. If you have a spot outside that is in full shade either on the side of a building or in front of a group of trees, that would work perfectly. The main thing you want to avoid outside is wind and shadows on your face.

Lighting
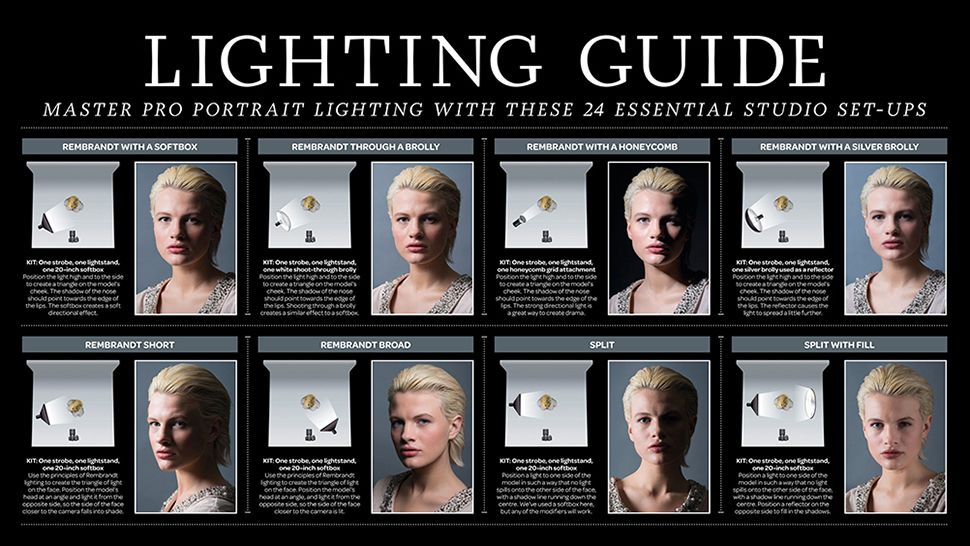
Like mentioned, you'll need a lot of light. If you're choosing to stay inside for your photo, make sure you're standing in front of a window/bright area and there is a solid colored wall behind you. You might need to move furniture out of the way. If you need to stay inside and don't have a lot of natural light, place a few lamps above, below, and to the side of your camera so that you have an even amount of light shining on your face.
Be a Shutterbug
Take more photos than you think you need. Put your phone on burst mode if you have it. Although you may think every photo looks the same, some might have a stray hair or bug in the frame or the lighting might be changing quickly while you're outside. You can always delete the photos later. Try out different poses and positions such as standing with arms crossed, arms by your side, body angled away from the camera (but face forward), raise the height of the camera, hands on hips, hands on knee while sitting, sitting with legs crossed and back straight.
As for the framing, the photo should be vertical and only include your head, neck, and shoulders. We like to follow the rule of thirds, which means your face should take up 2/3 of the frame with some space above your head, like so:

Good luck! Share your headshots with us on LinkedIn if you follow our advice.
Subscribe to the blog for more tips on marketing yourself and your practice.


